Your Journey to a
Perfect Smile
Experience the confidence of a custom handcrafted smile from the comfort of Home. Our CDT-certified lab handles every detail of your transformation with precision and care.

What's In Your Kit
Impression Kit
Top and bottom trays plus high-precision putty for professional molds.
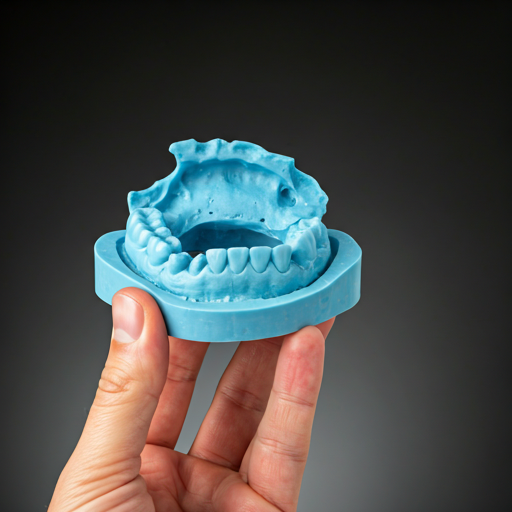
3D Printed Models
Receive your physical 3D printed dental models along with your veneers.
Cleaning Tablets
A supply of specialized cleaning tablets to keep your veneers pristine.
Protection Case
Premium, ventilated storage case to keep your smile safe on the go.
Your putty sets faster if your hands or the room are warm. Keep everything in a cool place before starting to give yourself the most working time.
Photo Step-by-Step Guide
Follow these six simple steps to create professional-grade dental impressions at home.
 01
01
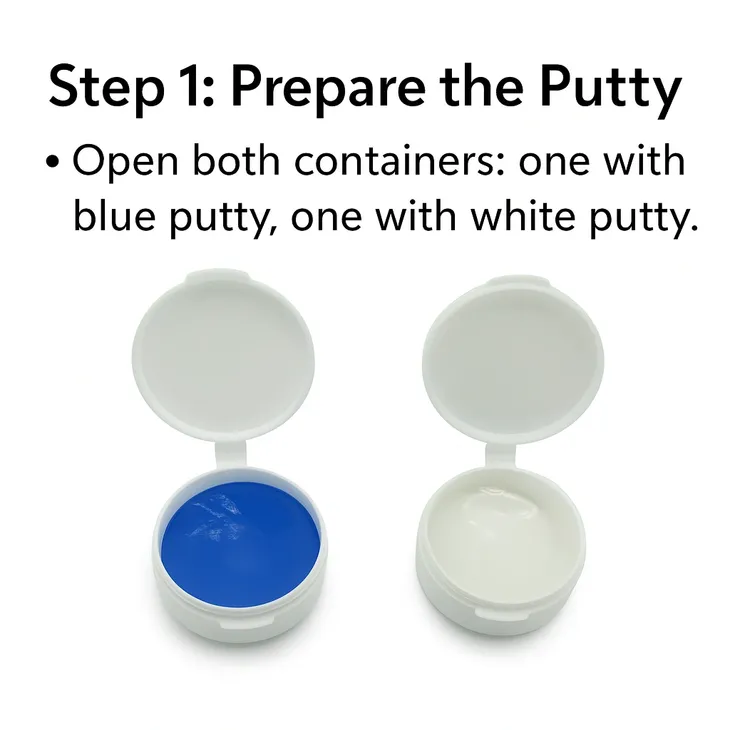
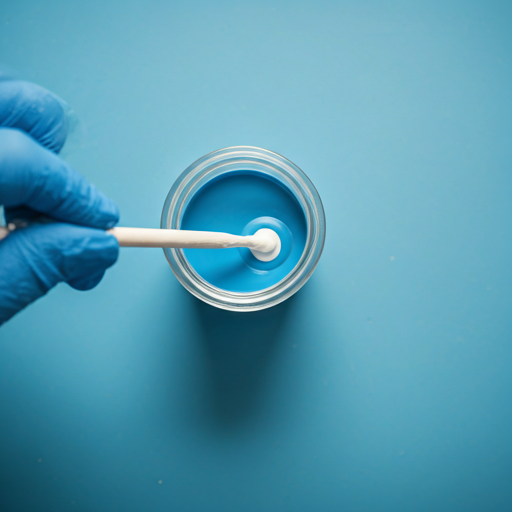
Prepare the Putty
Open both containers: one with blue putty, one with white putty. Ensure your hands are clean and dry before handling the materials.
Expert Tip: Do not mix the putty until you are ready to take the impression, as it sets very quickly.
 02
02
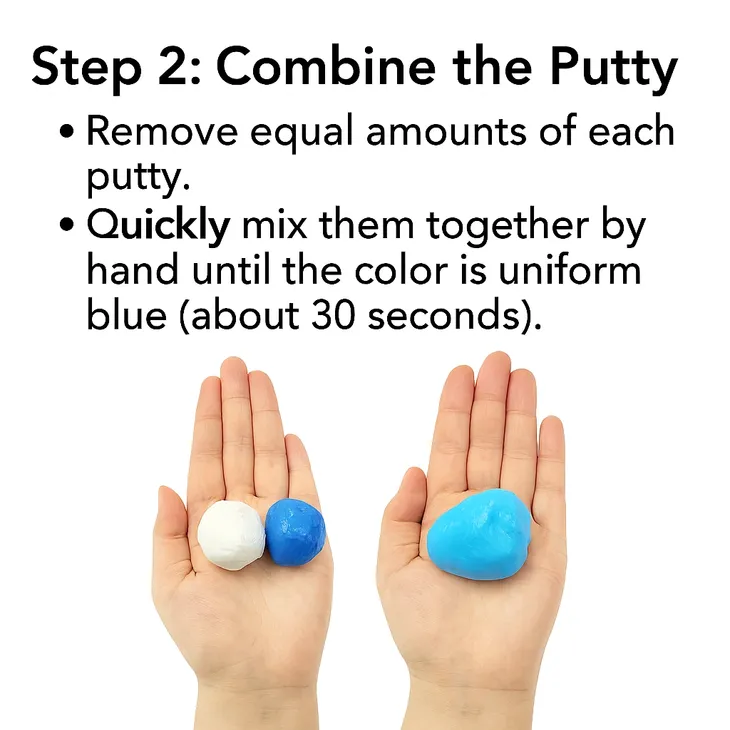
Combine the Putty
Remove equal amounts of each putty and quickly mix them together by hand until the color is a uniform blue (about 30 seconds).
Mixing should be fast and vigorous to avoid premature hardening.
 03
03
Shape the Putty
Roll the mixed putty into a cylinder that fits the tray. Place it evenly into the impression tray, ensuring it fills the entire arch area.
Make sure the putty is distributed evenly to capture all teeth surfaces.
 04
04
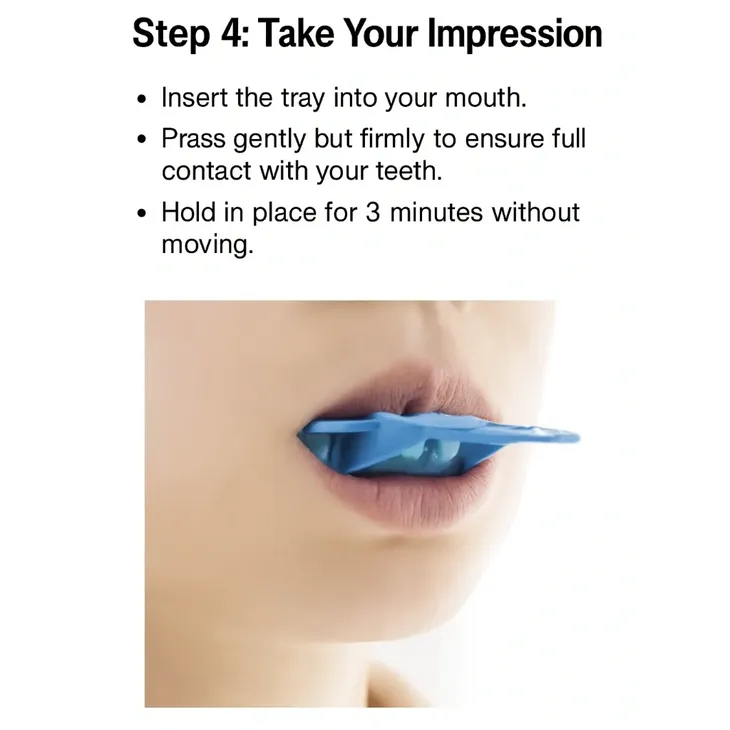
Take Your Impression
Insert the tray into your mouth and press gently but firmly to ensure full contact with your teeth. Hold in place for 3 minutes without moving.
Breathe normally through your nose and stay still while the putty sets.
 05
05
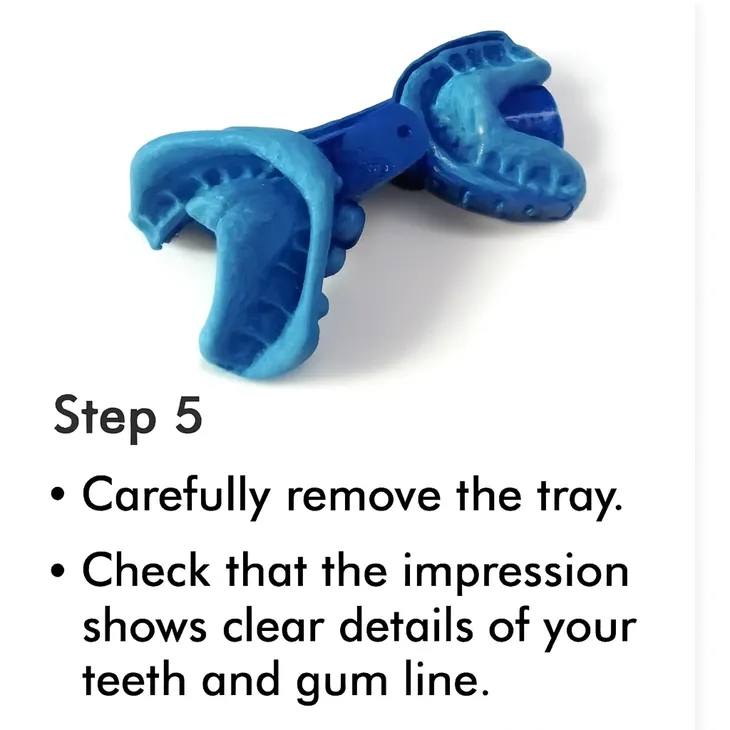
Inspection
Carefully remove the tray and check that the impression shows clear details of your teeth and gum line. Ensure no tray is showing through the putty.
A good impression shows deep, clear indentations of every tooth.
 06
06
Return Your Kit
Place your impressions in the provided box. Use the prepaid shipping label to send your kit back to our lab for professional crafting.
Pack it securely in the return box to protect your impressions during transit.
The Golden Standard
Compare your results with these clinical examples to ensure your lab case is successful.
Common Mistakes:
- Shallow Molds: The putty didn't reach the gum line.
- Dragging: Blurry details from moving during setting.
- Tray Showing: Metal visible through the putty.
What to look for:
- High Definition: Sharp outlines of every single tooth.
- Deep Margin: Clear 2-3mm of gum tissue captured.
- Clean Release: No tearing or air bubbles in critical areas.
Common Mistakes to Avoid
Shallow Impression
Not pushing the tray high or low enough. Make sure the putty covers your gum line completely.
Dragging / Movement
Moving the tray while the putty is setting. This causes 'ghosting' or double lines in the mold.
Wait Time
Removing the tray before the full 3.5 minutes. The putty must be completely firm before removal.
Biting Down
Biting into the tray rather than using your fingers. Use steady finger pressure for the best results.
Free Professional Inspection
Not sure if your impression is perfect? Text a photo of your dry impressions to our lab team for an instant professional review.
Text Photo to 580-713-8602Common Questions
What if I mess up my impression?
Don't worry! We include 3 sets of putty in every kit just in case. If you need more, our support team can ship additional putty for a small fee.
How long does the impression take?
The whole process takes about 15-20 minutes. The putty sets in your mouth in exactly 3 minutes.
Is it painful?
Not at all. The process involves gently pressing a soft dental putty onto your teeth. It is completely non-invasive.